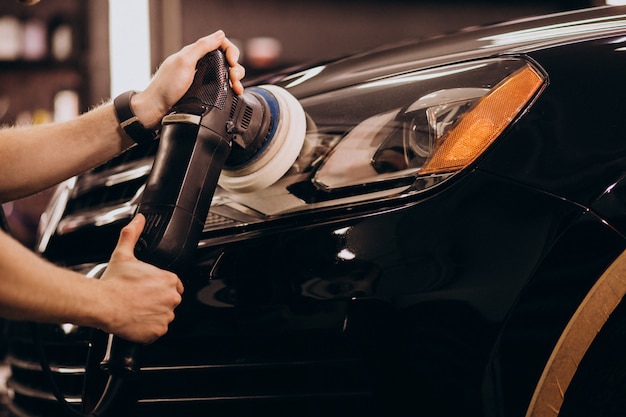
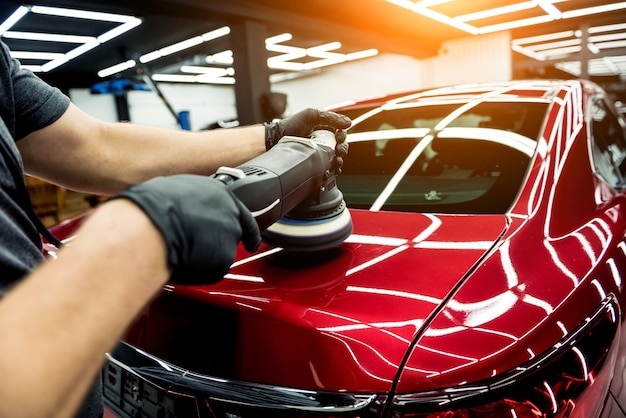
Power waxing your car is a highly effective way to achieve a professional and glossy finish that not only enhances its aesthetic appeal but also provides an added layer of protection against environmental elements. Unlike traditional hand waxing, power waxing involves using a machine to apply and buff the wax, resulting in a quicker and more efficient process. In this comprehensive guide, we will walk you through the step-by-step process of power waxing your car, ensuring a showroom shine that will turn heads on the road.
Materials Needed:
Before diving into the process, gather the necessary materials to ensure a smooth and effective power waxing session:
- Power waxing machine (orbital or dual-action polisher)
- Appropriate foam or microfiber pads for the machine
- High-quality car wax
- Car wash soap
- Two buckets (one for soapy water, one for rinsing)
- Grit guard for each bucket
- Microfiber towels or cotton cloths
- Clay bar kit (optional)
- Polishing compound (optional)
- Paint sealant (optional)
Step 1: Wash Your Car Thoroughly
Start by washing your car with a high-quality car wash soap to remove dirt, grime, and contaminants from the surface. Use two buckets with grit guards to minimize the risk of scratching the paint. Rinse the car thoroughly and ensure it is completely clean before moving on to the next step. For an extra level of cleanliness, consider using a clay bar to remove embedded contaminants from the paint.
Step 2: Assess the Paint Condition

Examine your car’s paint for any visible imperfections such as swirl marks, scratches, or oxidation. If you notice minor imperfections, you may choose to address them with a polishing compound before applying the wax. However, this step is optional and depends on the condition of your car’s paint.
Step 3: Choose the Right Wax and Pads
Select a high-quality car wax that suits your car’s paint type and color. Different waxes are formulated for specific finishes, so choose one that meets your requirements. Additionally, choose the appropriate foam or microfiber pads for your power waxing machine. Softer pads are suitable for darker colors, while firmer pads work well for lighter-colored cars.
Step 4: Apply Wax To The Pad
Apply a small amount of wax onto the foam or microfiber pad. Be conservative with the amount, as using too much can result in product wastage and may make the application process more challenging.
Step 5: Prime The Pad
Before starting the power waxing machine, prime the pad by spreading the wax evenly across its surface. This ensures an even application of wax on your car’s paint and prevents uneven patches or streaks.
Step 6: Set Up The Power Waxing Machine
Attach the waxing pad to the power waxing machine. Depending on the type of machine you have (orbital or dual-action polisher), follow the manufacturer’s instructions for proper setup. Make sure the machine is clean and free of any debris that could potentially scratch the paint.
Step 7: Apply Wax In Sections
Divide your car into manageable sections and work on one section at a time. Apply the power waxing machine to the car’s surface, using slow and overlapping passes to ensure even coverage. Apply gentle pressure, letting the machine do the work. Continue until you have covered the entire vehicle.
Step 8: Buff The Wax
After applying wax to a section, let it haze over for a short period, usually a minute or two. Then, use a clean microfiber towel or cotton cloth to buff away the haze. Buff in circular motions, applying light pressure to reveal the glossy finish. Repeat this process for each section until the entire car is buffed.
Step 9: Check For Residue
Inspect the car’s surface for any remaining wax residue. If you notice streaks or spots, use a clean, dry microfiber towel to gently remove them. A second pass with the power waxing machine may also help if there are stubborn spots.
Step 10: Optional Steps For Added Protection
For those seeking additional protection and shine, consider applying a paint sealant after the waxing process. Paint sealants provide long-lasting protection against UV rays, environmental contaminants, and harsh weather conditions. Follow the manufacturer’s instructions for application.
Conclusion
Power waxing your car is a rewarding process that results in a high-gloss finish and provides protection against the elements. By following these step-by-step instructions, you can achieve a showroom shine that not only enhances the aesthetic appeal of your vehicle but also ensures long-lasting protection for your car’s paint. Remember to choose quality products, follow proper techniques, and take your time to enjoy the process of transforming your car into a head-turning masterpiece on the road.
Also Read:
- Is Homebuilding A Good Career Path?
- Elevate Your Home Decor With Wallpics
- Top 10 Low-Cost Business You Can Start Under $100

